It’s simple to become lost if you go too far from your base in the enormous “Minecraft” worlds. You may set up beacons, use torches, or just make a map to keep yourself on the right path.
One of the most crucial items you should always have in your inventory in Minecraft is a map. You actually need to make a map in order to have one. You must thus understand how to create a map in Minecraft.
All across your “Minecraft” world, maps can be found, traded for, or made. You may use these maps to determine your current location as well as your past and future destinations. When you have a map, you can even add your own unique markers, which is ideal for marking the most fascinating aspects of your property.
In this write-up, we will walk you through how to make a map in Minecraft. Also, we will show you how to make a map on a Cartography table in Minecraft, how to use a map in Minecraft, and so on. So relax and learn.
How Can I Craft a Map In Minecraft?
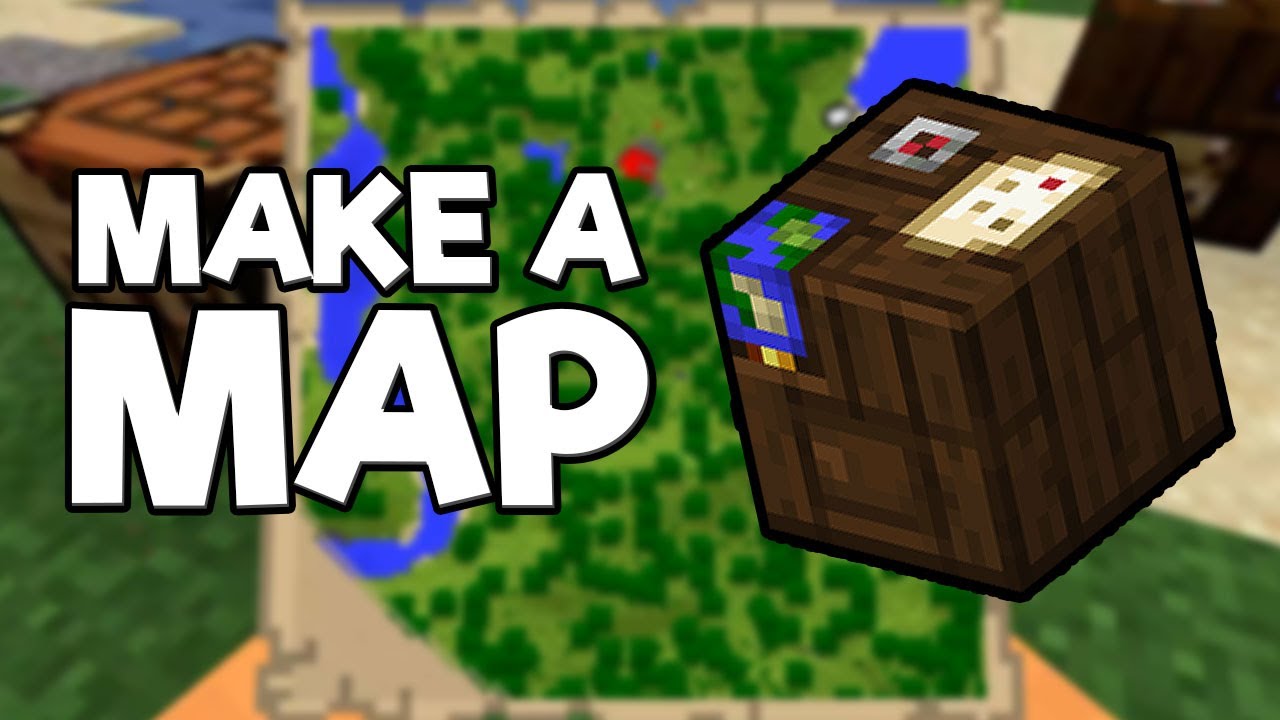
You’ll need one compass and eight sheets of paper to create a map in Minecraft. The raw resources that you will mine and scavenge for in your world may be used to make both the paper and the compass.
- Make a paper. Sugar cane, one of the most accessible materials, is used to make paper. In both swamp and desert biomes, sugar cane thrives close to water. On your work surface, arrange three sugar cane pieces in a row to produce three sheets of paper.
- Make a compass. Four iron ingots and one piece of Redstone dust are all you need to create one of these. When mining, iron ore and Redstone dust are simple to come by, especially as you go closer to the world’s bottom. To mine Redstone, you’ll need an iron pickaxe or something stronger.
- Use a furnace to transform the iron ore into four iron ingots after you have at least one piece of Redstone dust and four iron ore blocks. The four ingots should be placed at a crafting table next to the central block, which will hold the Redstone dust.
- You may finally create a map if you have all the necessary elements. In the 3×3 crafting table area, put the compass in the middle slot and paper in each of the other nine spaces.
- The Empty Locator Map is now available for you to add to your inventory. Walk around to complete the Map after equipping and using it.
How To Make a Map on a Cartography Table in Minecraft
Open a crafting table, place two pieces of paper in the top row, and then four pieces of wood (of any kind) in the blocks below to create a cartography table. Additionally, you can discover cartography tables inside your cartographer’s home in villages.
How Do You Make a Big Map in Minecraft?
You should try to expand your Minecraft universe as much as you can because each Map only shows a small section of it. Put your Map in the center of the crafting table, and then fill the remaining boxes with 8 Paper.
To make your maps larger, you may also utilize a cartography table. In order to generate a new, zoomed-out Map, combine your Map with 1 Paper. To make the Map the largest it can be, use one of these ways four times in a row.
How Do I Make a 3X3 Map Wall in Minecraft?
- Firstly, make 9 Empty Locator Maps.
- Then make 9 Item Frames. To create 1 Item Frame, place 1 Leather in the center of the crafting table and 8 Sticks in the other boxes.
- Go to the location you desire for the map’s center. After that, arrange 9 identical solid blocks in a 3X3 square on top of one another.
- Then use the Item Frames on the blocks to mount them.
- Equip the map, fill it up with an Empty Locator, and then use it on the central Item Frame.
- Your wall’s position will be indicated by a green dot, and your current location will be indicated by a white arrow.
- After equipping and using a second Empty Locator Map and filling it up, head south to the map’s extreme edge.
- Return to the wall and place the new Map on the block at the bottom middle. Then for the remaining directions on your map wall—the southeast, southwest, east, west, north, northeast, and northwest—repeat steps 7–8.
How to Play a Custom Minecraft Map
- Firstly, download the map file (Minecraft maps).
- Then extract the map file. In order to extract the files into a new folder, right-click the downloaded map file and choose “Extract file.”
- After extracting the map file, launch the folder you just made. A folder with the same name as the map file and a _MACOSX folder is a common sight.
- Depending on the operating system you are running, find the Minecraft saves folder and open it.
- In the other window’s saves folder, paste the map folder with the level.dat file and data folder.
- You’re ready to play once you’ve copied the map files! Start the game by loading the Minecraft Launcher.
How To Create A Seamless Mosaic Of Maps
It’s a terrific idea to make a wall of maps for newbies to use to find their way around. Create four blank maps to start, and attempt to make them with indications so that they can all display the locations of the participants in the game. Additionally, you need to make four-item frames.
In a square on the wall, arrange your frames. To initialize your first map where you are, right-click on it while holding it. On your map wall, mount this map in a frame.
You should venture outside the initial map’s perimeter that you hang on your map wall. Return to the map wall and begin the next empty map where you are standing. In order for the images to line up, place the map in the appropriate frame.
Until your map wall is full, repeat the procedure, starting each time in a different direction before initializing a new map. Theoretically, if you have the resources, you can build this wall as high as you desire.
Conclusion
One of the most crucial items you should always have in your inventory in Minecraft is a map. You actually need to make a map in order to have one. You must thus understand how to create a map in Minecraft. We have shown the steps to follow on how to make a map in Minecraft in this article.