When you relocate to a new area or wish to access region-specific applications, services, or content, you must change the country or region option on your iPhone. This post will provide you with a step-by-step tutorial on how to switch the region or country on your iPhone so you may discover new features and customize your phone to your current location.
How to Change Country Settings on iPhone, iPad, or iPod Touch
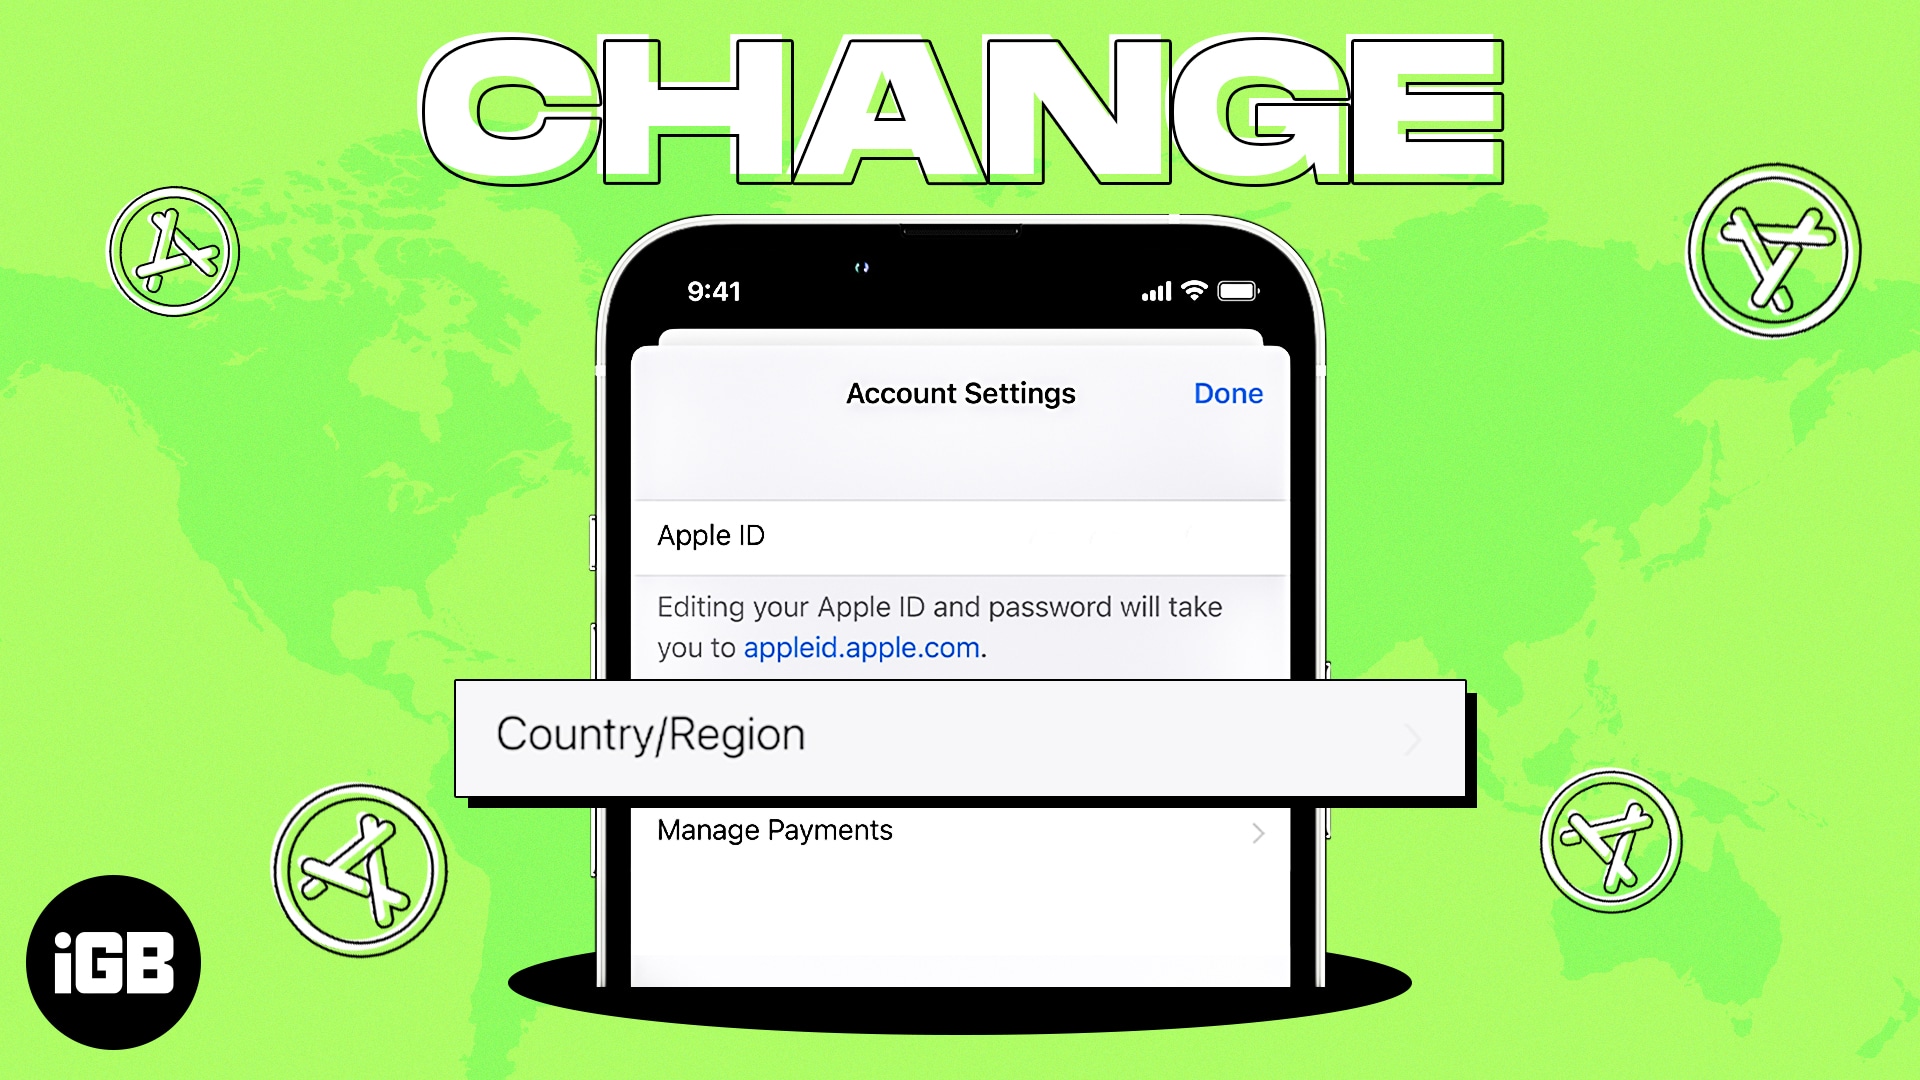
- Go to [Your Name] > Media & Purchases in the Settings app.
- From the box, choose View Account, and then enter your Apple ID password.
- Select the new nation you wish to switch to by tapping Nation/Region and selecting Change Country or Region.
- Enter the payment details and billing address for your new country after accepting the terms and conditions, and then press Done.
How to Change Country Settings on Mac
- Open Apple Music and go to Account > Account Settings from the menu bar.
- Click the Change Country or Region button under the Apple ID Summary section.
- Choose the nation you wish to switch to.
- Enter the payment details and billing address for your new country after accepting the terms and conditions, and then press Done.
How to Create a Second Apple ID Account for Another Country
The best approach to temporarily change the country of iTunes and the App Store is to create a second Apple ID account. You may easily move back and forth between your old account and the new one without the requirement for a foreign payment method.
Directly on your device is the simplest method to create a new Apple ID account. Make sure you choose the appropriate nation for your new account when you do this. You must verify this by adding a billing address in that nation and providing an email address (and, if available, a phone number) for account verification.
On iPhone or iPad
- Sign out by going to Settings > [Your Name].
- Tap Sign Out after selecting which iCloud data to preserve on your device.
- Tap the Account button in the top-right corner of the App Store, then select Create New Apple ID.
- Below the email address and password sections, choose your new country.
- Enter a password and email address to use with your new account. An email address linked to another Apple ID account cannot be used.
- After completing each required Apple ID field, tap Next. Select None if you don’t have a payment method for this nation. You need to locate a billing address you may utilize in this nation even without a payment method.
- When done, click Done to establish your new account.
What Happens When You Change App Store Country
Your Payment and Billing information for all Apple services connected to your Apple ID will be changed when you change the App Store Country. It follows that the New Payment and Billing Information will take the place of Your Current Payment and Billing Information.
You must create a new Apple ID for usage in another country if you don’t want to lose your current payment and billing information. You will be able to utilize both your current Apple ID, which is linked to a certain country, shipping address, and payment information, as well as your new Apple ID, which is linked to a different country, address, and payment information.
Conclusion
Accessing location-specific features and information on your iPhone requires changing the country or region option. You may quickly change to a different nation or area, customize your smartphone for your present location, and access a variety of region-specific applications and services by following these simple step-by-step steps. Keep in mind that some applications and services could need additional authentication or information particular to the chosen nation or area.