Do you want to download and install Windows 11 on your computer? There are several ways you can do that and I will be giving you all the guidance you need to accomplish that.
Windows 11 is the latest operating system from Microsoft, with improved performance, new features, and a modern interface. In regard to the recent update from Microsoft on the release of Windows 11, computer users across the globe are much happier about the interface and feature it comes with — and are willing to test and use it on their desktop and laptop computers. This article will guide you through the process of downloading and installing it on your device.
How To Download And Install Windows 11 Officially 2023
Before you begin, make sure your device meets the minimum requirements for Windows 11. These include a 64-bit processor, 4 GB of RAM, 64 GB of storage, and a DirectX 12 compatible graphics card or integrated GPU.
If your computer meets the requirements above, then follow the procedure below to download and install Windows 11.
1. Download Windows 11 ISO file
You can download the file from the Microsoft website or through the Windows Update feature. The Microsoft website is the recommended option for downloading the Windows 11 file.
- To download from the Microsoft website, go to the Windows 11 download page.
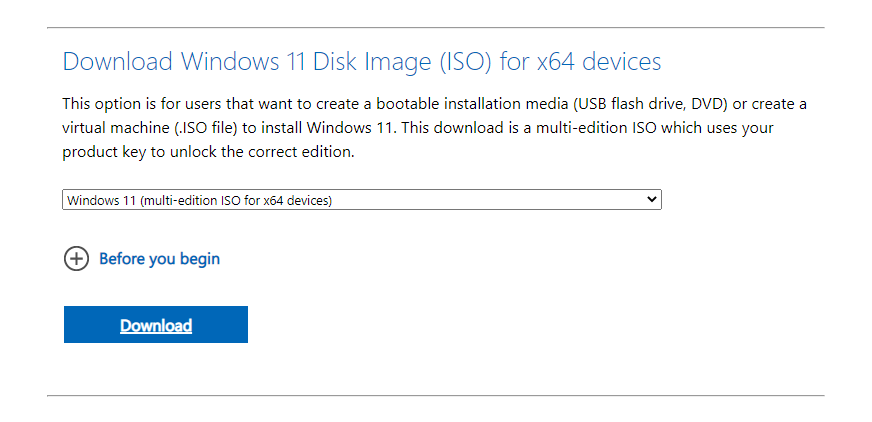
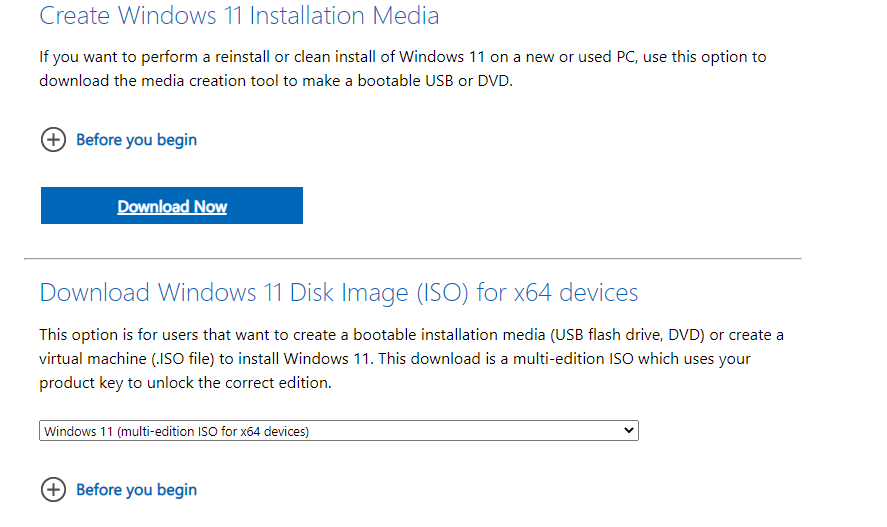
- Scroll down to “Download Windows 11 Disk Image (ISO) for x64 devices”, select the version of Windows 11 you would like to download from the drop list, and click the “Download now” button. The file size is about 5 GB, so make sure you have a stable internet connection.

Wait for the download to complete and that is it. You will now have your Windows 11 OS image saved in your download folder.
2. Create Installation Media
After downloading the Windows 11 installation file, you will need to create installation media. This can be done on a USB drive or DVD. To create installation media, you can use the Windows 11 Media Creation Tool, which is also available on the Microsoft website. It is right above the Windows 11 ISO download section.

Download the tool and follow the instructions to create installation media.
Install Windows 11
Now that you have installation media, you can install Windows 11 on your device. You should note that this process could also wipe everything on your computer so create a backup on external storage before you start the process.
Insert the installation USB drive you just created into your device and restart it. Also, make sure you have set to boot from USB in your BIOS settings. If you don’t know how to do that, then check out my earlier article about how to enter BIOS settings.
With that, as soon as you boot, it will boot from the USB with a message asking you to press any key to boot into the Windows installer.
Alternatively, you can also press the key that takes you to the boot menu. This varies depending on your device type. It will take you to the available boot devices.
Select the installation media which is also the bootable USB drive you created earlier.
Follow the instructions to install Windows 11. Also, note that formatting your hard drive in the process will erase everything on it.
When your installation is done, your computer will restart and bring you to the setup screen.
Set Up Windows 11
After installation is complete, you will need to set up Windows 11. This involves creating a user account, setting up your preferences, and installing apps and drivers. Follow the on-screen instructions to set up Windows 11.
If you want to do more with your Windows 11 after installation, you can also check my earlier article about 7 free apps for customizing Windows 11.
