An excellent feature of the iPad is the ability to snap screenshots of anything and store them as picture files, which you can subsequently distribute widely.
A quick and simple approach to quickly capture what is displayed on the screen is to take a screenshot. They take the place of downloading files for sharing, and they’re efficient for things you won’t need to edit.
Since the very beginning of Apple’s well-liked tablet, the iPad, taking screenshots has been a key function.
Screenshots are an essential part of how we communicate nowadays, whether you want to share a Twitter thread, keep a receipt, or capture a certain moment in a video.
Want to quickly capture the screen? Here’s how to take a screenshot of any Apple mobile device’s screen.
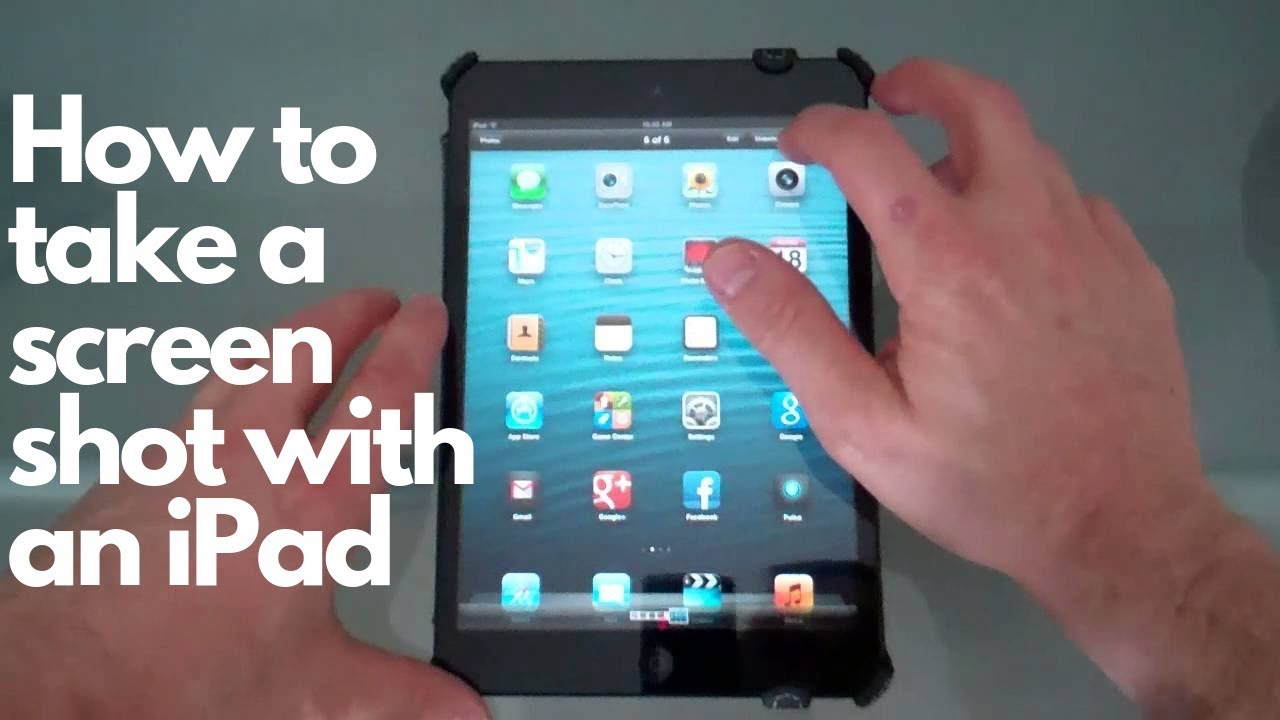
How to take a screenshot on an iPad using the Power and Home or Volume Up buttons
- Find the Power and Home buttons. The single button on the front of the iPad is the Home button, which is situated just beneath the screen. On the other hand, the Power button is the oval-shaped button located in the upper right corner of the iPad.
- When viewing the screen you wish to capture, press and hold the Power button, then hit the Home button and let go of both buttons.
- If your iPad is not in quiet mode, you will then experience a brief screen flash and a slight shutter sound.
- When a screenshot is taken, your iPad will instantly store it on your camera roll in the Photos app.
How to take a screenshot on an iPad using AssistiveTouch
A screenshot may be taken using the on-screen menu provided by AssistiveTouch, a feature of the iOS and iPad OS accessibility features, which enables you to perform a number of tasks that typically require pressing a number of buttons simultaneously.
To take a screenshot on an iPad using AssistiveTouch, you have to switch it on first. To switch it on follow the steps below;
- Access AssistiveTouch under Settings > General > Accessibility.
- Toggle AssistiveTouch at the menu’s top by making sure it is selected.
Use AssistiveTouch to take screenshots
We can now start taking screenshots with the AssistiveTouch menu as AssistiveTouch is now operational.
- Firstly, touch the AssistiveTouch menu button.
- Then go to Device > More.
- Tap Screenshot.
- When a screenshot is taken, your iPad will instantly save it to the Photos app.
How to take a screenshot with an Apple Pencil
It’s incredibly simple to take a screenshot with an Apple Pencil.
Simply move your stylus from either side’s bottom corner toward the display’s center. You should see the Screenshot Editing Tools so you can quickly capture a screenshot without losing your Pencil.
How can I take a screenshot of an Entire Page?
You may use your device to capture a screenshot of the entire web page rather than just the portion that is visible at the time. After you take a picture, tap the thumbnail at the bottom of the screen. By doing so, the markup tool on the smartphone will open and you may alter the screenshot.
Tap the Full Page tab at the top of the picture to save the image in its entirety. The image won’t function with this feature if it doesn’t show up. Then click Save PDF to Files and Finish. From Apple’s Files app, the image will then be available.
How can I take a screenshot from the Screen Recording Tool?
To begin with, make sure to go to Settings > Control Center and add the Screen Recording shortcut. Then you open Control Center on your smartphone, hit the circular record button to start a countdown, and the screen will start to be recorded.
You may see and screenshot the captured video once it has been saved to your Photo library.
How can I take screenshots with Back Tap?
You may tap the rear of your iPhone to carry out certain actions thanks to Back Tap, an accessibility feature that was included in iOS 14. You may configure this function to capture a screenshot for you if your iPhone model is 8 or higher. To choose between double tapping or triple tapping, choose Settings > Accessibility > Touch > Back Tap. You may double- or triple-tap to take a screenshot after setting the action to Screenshot.
How to take a screenshot on iPad with Siri
Make sure Siri is configured before attempting to snap a screenshot with it. Simply say, “Hey, Siri, capture a screenshot,” at that point. It’s done!
It’s important to keep in mind that some programs, such as Netflix, will hide any images for proprietary purposes.
How to Take a Screenshot on Apple Watch
You must first enable the capability in order to capture a snapshot of your Apple Watch screen. Access My Watch > General > Enable Screenshots in the Watch app on your iPhone, or go to Settings > General and press Enable Screenshots on your watch.
Pull up the desired screen to take a screenshot using an Apple Watch. Click the Digital Crown while maintaining pressure on the Side button. The screen will “flash” white, similar to the iPhone, and the shutter will fire. After then, the screenshot won’t show up on the watch itself but rather in your iPhone’s camera roll.
How To Share a Screenshot
Screenshots are useful for sharing with friends, family, coworkers, or tech help since they can pack a lot of information into a single image. Once you have a screenshot, you may send it via text, email, AirDrop, social media, and other channels. This is the procedure.
- To view the image in its entirety, tap it. In the bottom-left corner, tap the Share icon. The share button is located in the top right corner of iPadOS 14.
- Select the social media site you’d want to post to. You can also email or AirDrop your screenshot using the relevant icons beneath the images. You must be using iOS 7 or later and have both Wi-Fi and Bluetooth turned on in order to utilize AirDrop.
- The layout will be changed if you have an iPad OS 14, but the procedures are the same.
Conclusion
Screenshots are an essential part of how we communicate nowadays, whether you want to share a Twitter thread, keep a receipt, or capture a certain moment in a video. We have shown how to take screenshots on an iPad in this article.