If you have an Oculus or Meta device then you will have to create Oculus account at one point to be able to use it effectively. Even if you do not have a Meta or Oculus device, you can still create the account for other uses.
If you wish to know more about Oculus devices, then check out my previous article about the Oculus Quest 2 Virtual Reality Glasses.
In this tutorial, I will help you create your Oculus account within the fastest time possible.
How to create Oculus account
I will keep this tutorial as short as possible. This is to make it possible to create this account within 5 minutes. Before we begin, there is something you must know.
Oculus is the same as Meta so creating an Oculus account simply means you have created a Meta account. If you see me using Meta in place of Oculus, just know that it means the same thing.
Step 1: Visit auth.meta.com. This is the signup page. It should look similar to the page in the screenshot below.
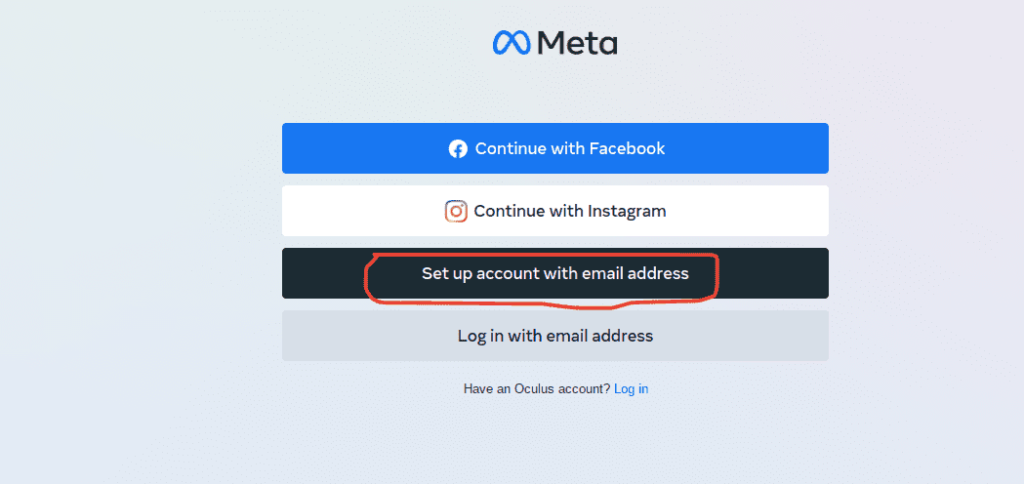
For faster account creation, Click on “Continue with Facebook” or “Continue with Instagram“. These options will simply import your information and create the account automatically using your information. However, I won’t be using these easy steps in this tutorial.
Step 2: Click on “Set up account with email address. You will be asked to confirm whether you already have VR apps or not. Select the appropriate option that applies to you.
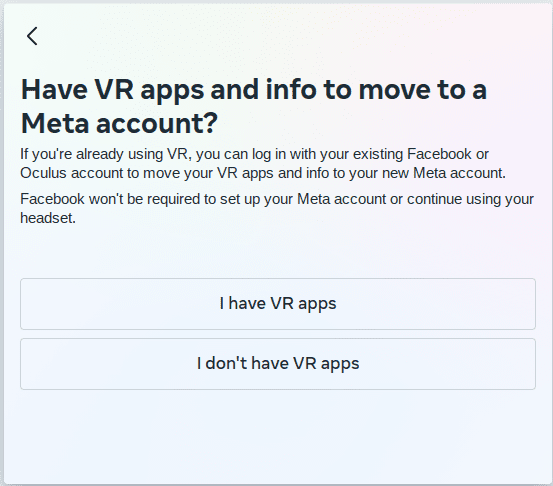
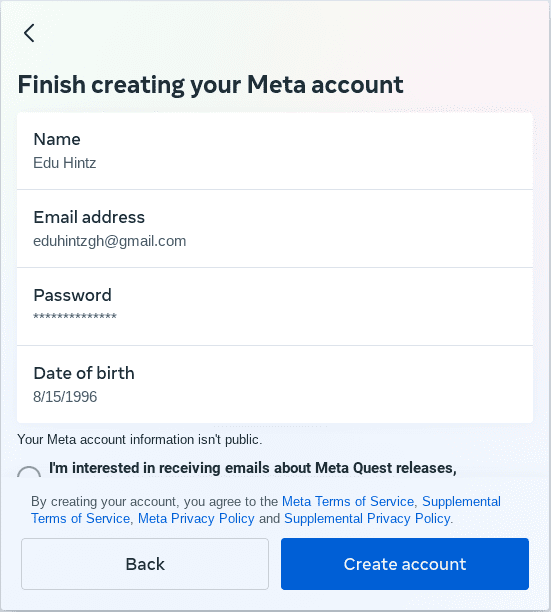
Step 3: Enter your email address and continue to the next page where you will fill in your name starting with your First Name and first and Last Name in the second box.
You will also have to select your date of birth on the next page. Then input a few memorable characters you would like to use as your password. On the next page, review your details and click on “Create Account” to confirm.
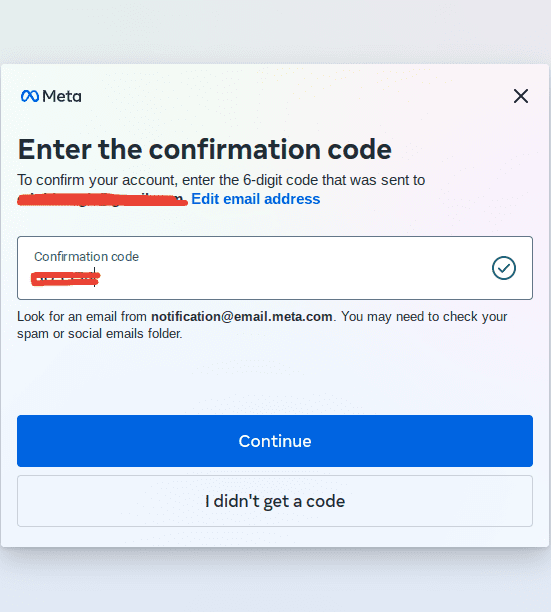
Step 4: A six digits code will be sent to your email address. Log into your email, retrieve the code and use it to verify your email in the next step. If for some reason you could not receive the code, always click on “I didn’t get a code” to resend.
Step 5: Your account is ready. However, you are yet to set how you will appear to other users on Meta. Enter your name and a unique username that people can use to find your account on Meta.
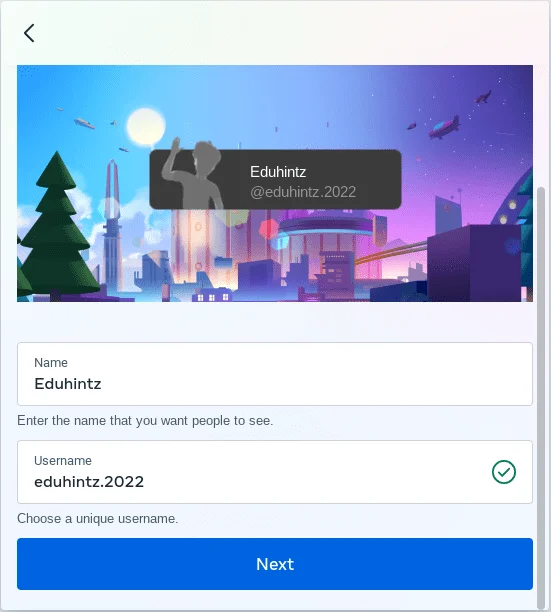
Step 4: On the next page you will have to add your profile image. If you do not want to add it, there is an option to skip it. From there, you set your privacy. You decide if you want other users to find you or not.
Click on the “Finish” button when you are done with everything and that is it.
